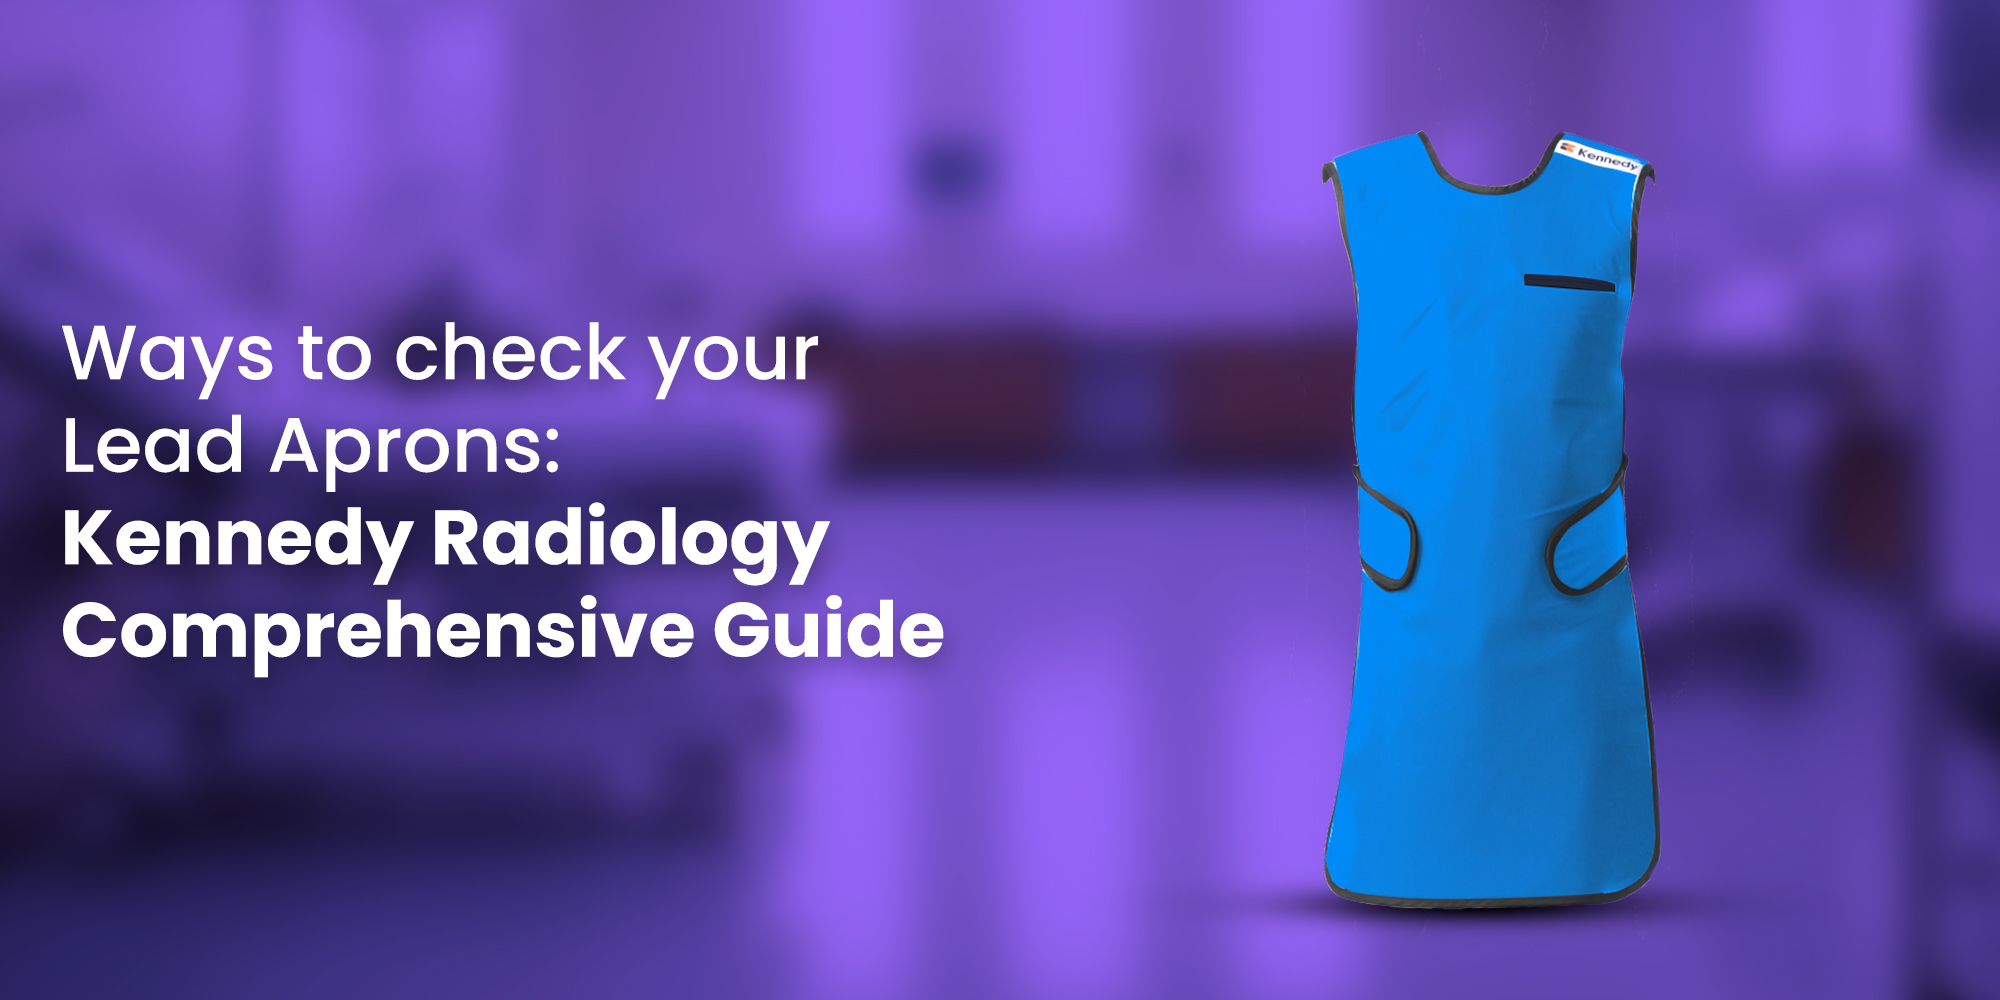
Are you a radiologist or a surgeon? Then one of the most important things you have to do is to diligently check your lead apron regularly to ensure proper radiation protection.
Lead aprons are essential protective gear in medical settings where radiation exposure is a concern. These aprons shield individuals from harmful ionizing radiation, but to ensure their effectiveness, regular inspections are crucial. In this blog, we’ll provide a comprehensive guide on inspecting your lead aprons to ensure their safety and longevity
Why Inspect Lead Aprons?
Before diving into the inspection process, it’s important to understand why inspecting lead aprons is necessary:
- Safety: Inspecting lead aprons helps ensure the safety of healthcare professionals, patients, and industrial workers exposed to radiation. Damaged aprons can compromise protection.
- Compliance: Regulatory bodies and standards, such as the FDA and NCRP, require regular inspections of radiological protective equipment to meet compliance and safety standards.
- Prolonged Lifespan: Regular inspections can detect minor issues before they become major problems, extending the lifespan of your lead aprons and saving costs. But, if there are issues with the lead, like cracks of leakage, then the aprons are to be replaced
Lead Aprons Inspection Frequency
The frequency of lead apron inspections may vary depending on factors like usage intensity, facility policies, and manufacturer recommendations. However, a general guideline is to inspect lead aprons:
- Annually: For aprons used frequently in high-exposure areas.
- Bi-annually: For moderate usage aprons.
- Every 2-3 years: For aprons with low usage.
Equipment Needed
Before you begin inspecting your lead aprons, gather the necessary equipment:
- Well-lit area: Ensure proper lighting to spot any defects.
- Gloves: Wear disposable gloves to prevent contamination.
- Magnifying glass: Useful for inspecting small details.
- Pen and notepad: To document findings.
Lead Aprons Inspection Steps
Follow these steps to perform a thorough lead apron inspection:
Step 1: Visual Inspection
Begin with a visual inspection to identify any obvious issues:
- Exterior surface: Check for visible signs of wear, such as cracks, holes, or punctures. Pay close attention to seams, pockets, and edges.
- Fading or discoloration: Look for areas where the apron may have faded or changed color, which can indicate damage or exposure to radiation.
- Loose or missing fasteners: Ensure that any snaps, buttons, or Velcro closures are secure and functioning properly.
- Apron integrity: Inspect the overall integrity of the apron. Ensure it has not become stiff, brittle, or brittle.
- Lead equivalence: Verify that the apron meets the required lead equivalence standards, usually 0.5 mm Pb or higher.
Step 2: Flexibility Test
To assess the flexibility of the lead apron, gently bend and flex it in various directions. A flexible apron is less likely to crack or develop weak spots. Ensure there are no unusual sounds or signs of rigidity during this test.
Step 3: Closure and Fastener Inspection
Inspect all closures and fasteners for wear, damage, or malfunction. This includes:
- Snaps and buttons: Check that they securely fasten and unfasten without resistance.
- Velcro: Ensure it still provides a strong grip when closed.
- Ties and straps: Examine ties and straps for fraying or signs of weakness.
Step 4: Check for Radiation Leaks
While rare, radiation leaks in lead aprons can occur. To check for leaks:
- Use a radiation detection device: If available, sweep the apron’s surface with a radiation detection device to identify any radiation leakage.
- Visual inspection: Look for any visible signs of radiation leakage, such as white powdery residue or discoloration.
Step 5: Record Findings
Document all findings, including any defects, wear and tear, or radiation leakage. Include the date of inspection and any actions taken.
Step 6: Repairs or Replacement
Based on your findings, determine whether the lead apron requires repairs or replacement. Here are some guidelines
- Minor damage: Small punctures or tears can often be repaired with minor stitching & Velcro closure. Ensure repairs are done by a qualified professional
- Significant damage: If the apron has major defects, such as large tears, holes, or radiation leakage, it should be replaced immediately.
- Fading or discoloration: While not necessarily a sign of damage, significant fading or discoloration may indicate prolonged exposure to radiation and prompt replacement might be necessary.
Additional Tips
Here are some additional tips for maintaining and prolonging the lifespan of your lead aprons:
- Proper storage: Store lead aprons in a cool, dry place, away from direct sunlight and extreme temperatures.
- Avoid folding: Hang aprons on specially designed racks to prevent creasing and damage.
- Regular cleaning: Follow manufacturer guidelines for cleaning and disinfecting lead aprons. Avoid using harsh chemicals that may weaken the material
- Radiation safety training: Ensure that all personnel who handle lead aprons are trained in radiation safety and understand the importance of inspections.
Inspecting lead aprons is a vital component of radiation safety in medical and industrial environments. Regular inspections help ensure the effectiveness of the aprons, protect individuals from radiation exposure, and maintain compliance with safety regulations. By following the steps outlined in this guide, you can confidently inspect your lead aprons, identify any issues, and take appropriate action to repair or replace them, ultimately ensuring the safety of everyone involved.
Remember that when in doubt, consult the manufacturer’s guidelines and seek assistance from qualified professionals to address any concerns regarding lead apron safety.
If you would like further information on lead apron inspections, you can contact Kennedy Radiology experts today!


